You know your students and how they communicate best. We want your student thank-yous to be reflective of their communication style. If coloring or writing proves challenging for your students, we encourage you to explore alternative creative avenues to make great student thank-yous! Here are some ideas to get you started:
- Write “Thank You” (or a different message of your choosing) using white crayon, and have your students use watercolors on the page to create a beautiful background!
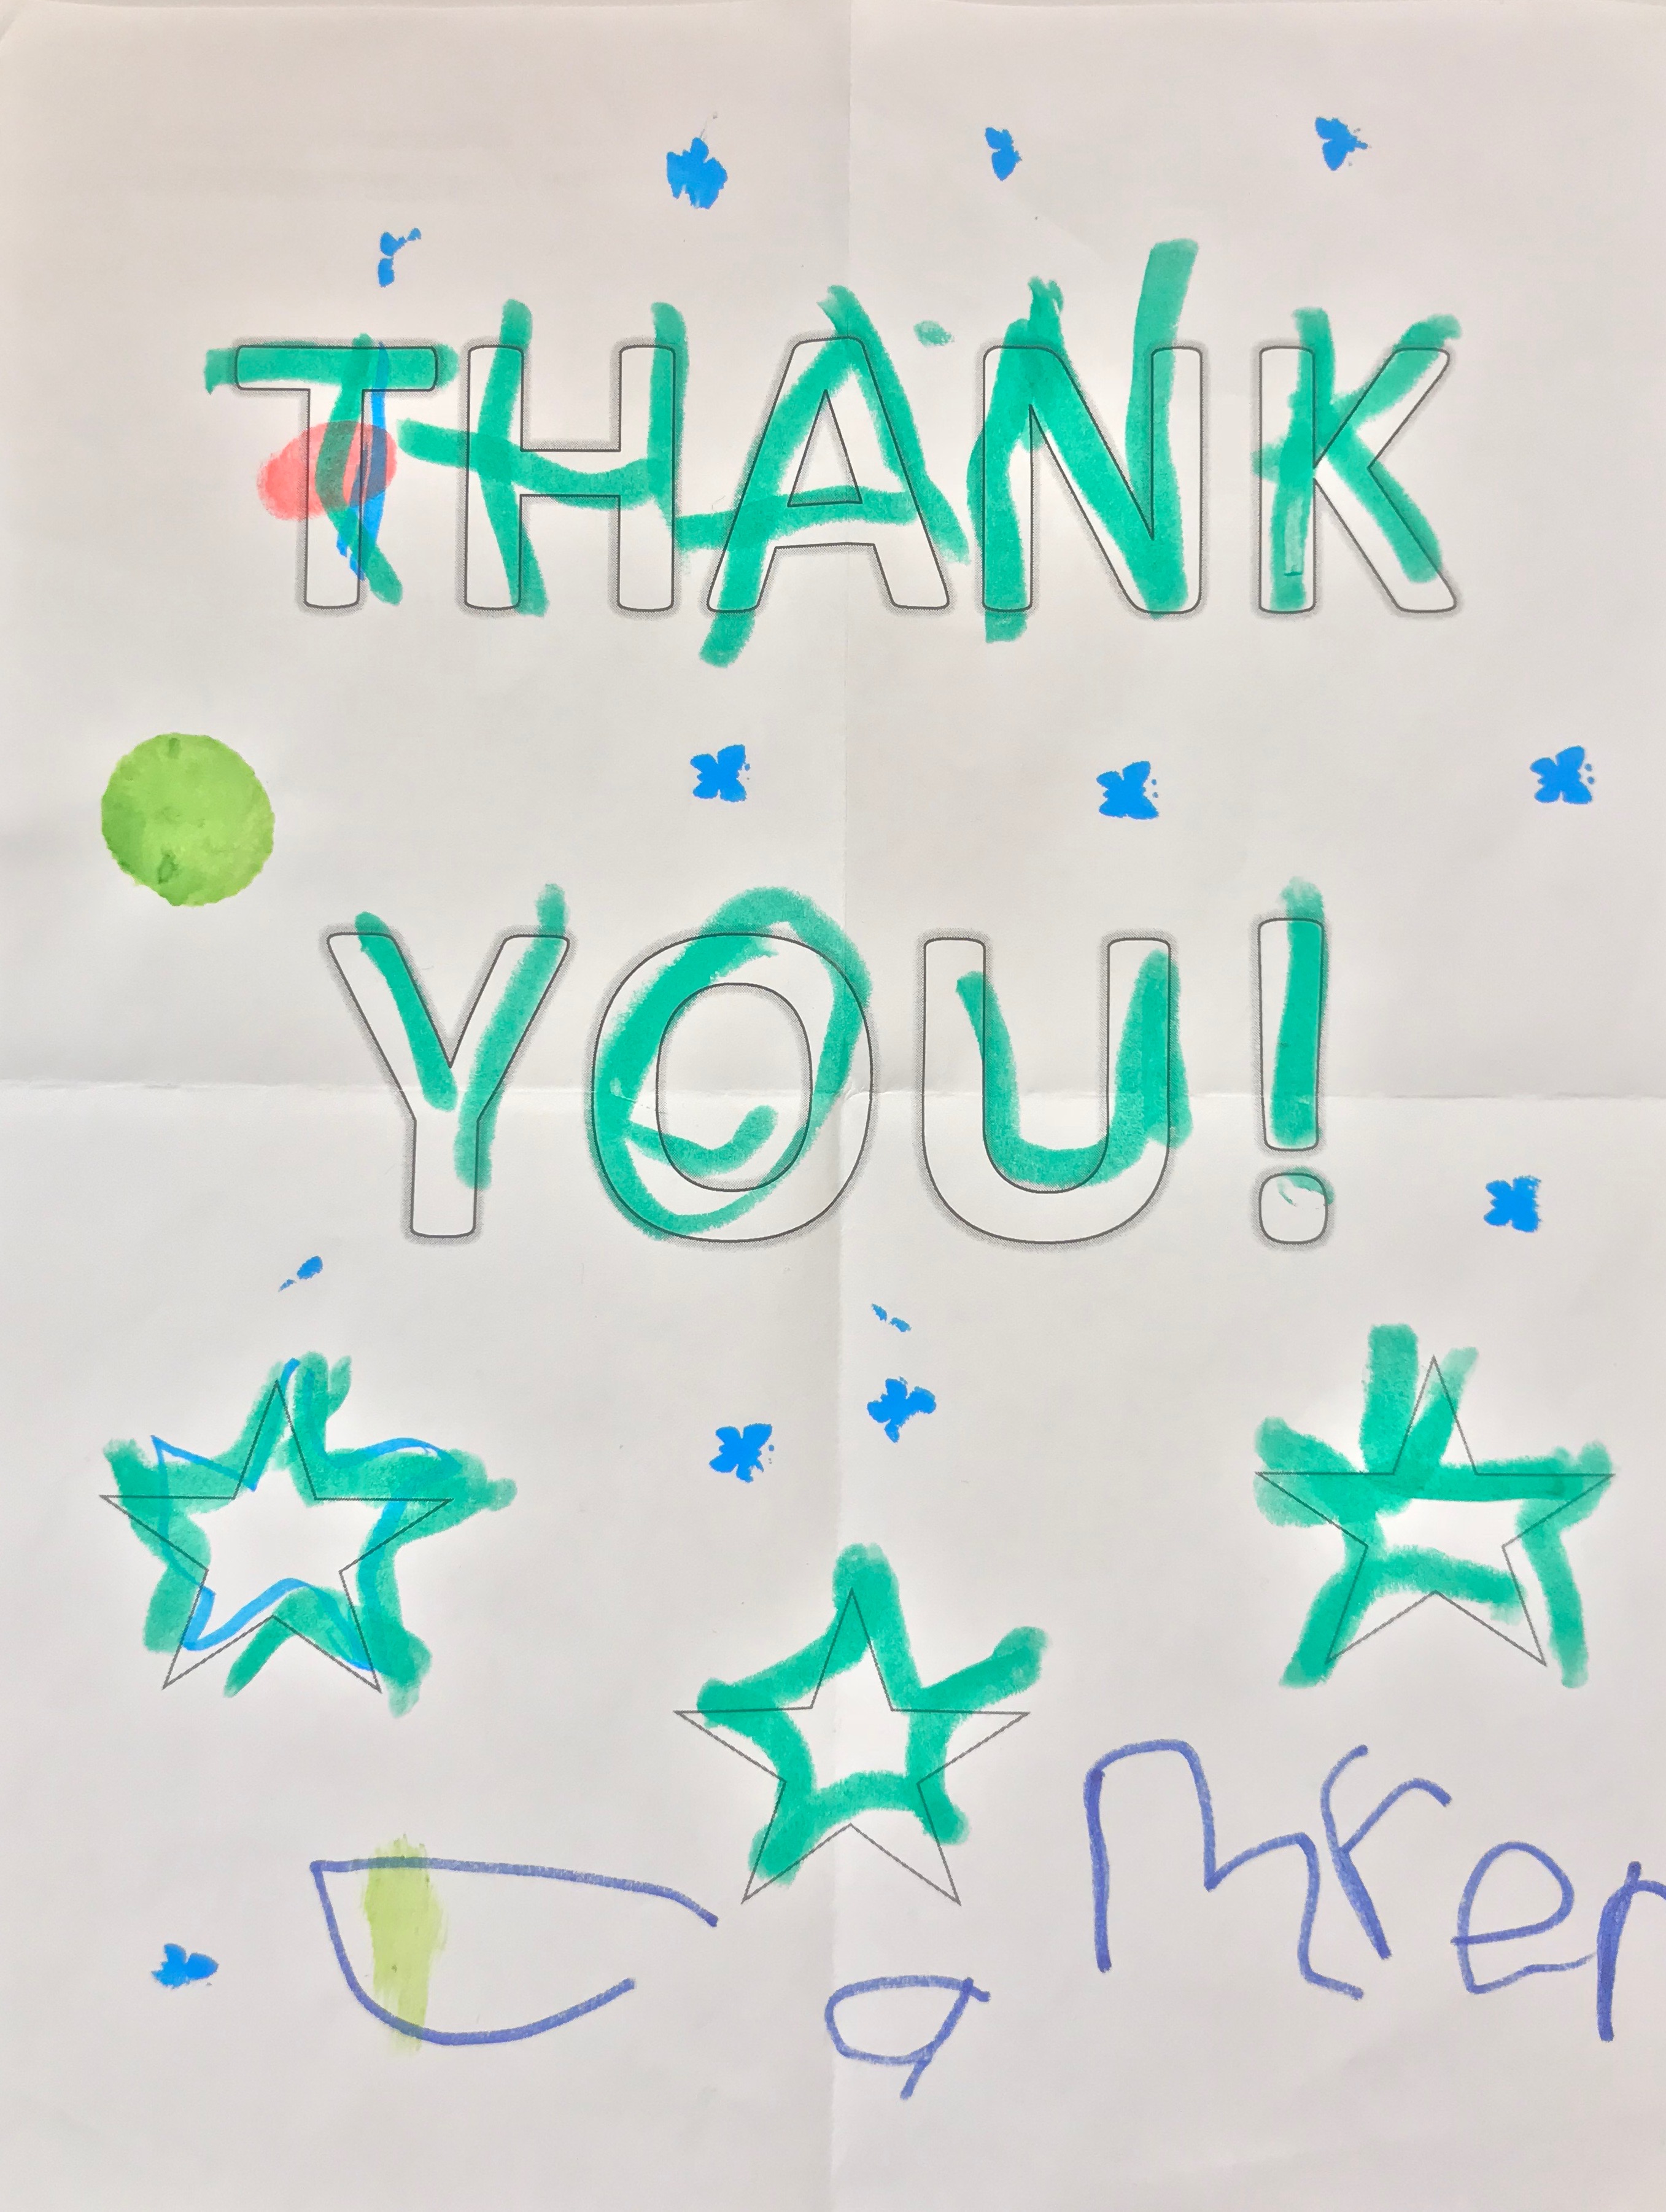
- Print out a thank you template and have your students decorate student thank yous using stickers, stamps, and bingo markers.
- Have your students communicate to you what they’d like you to draw or write.
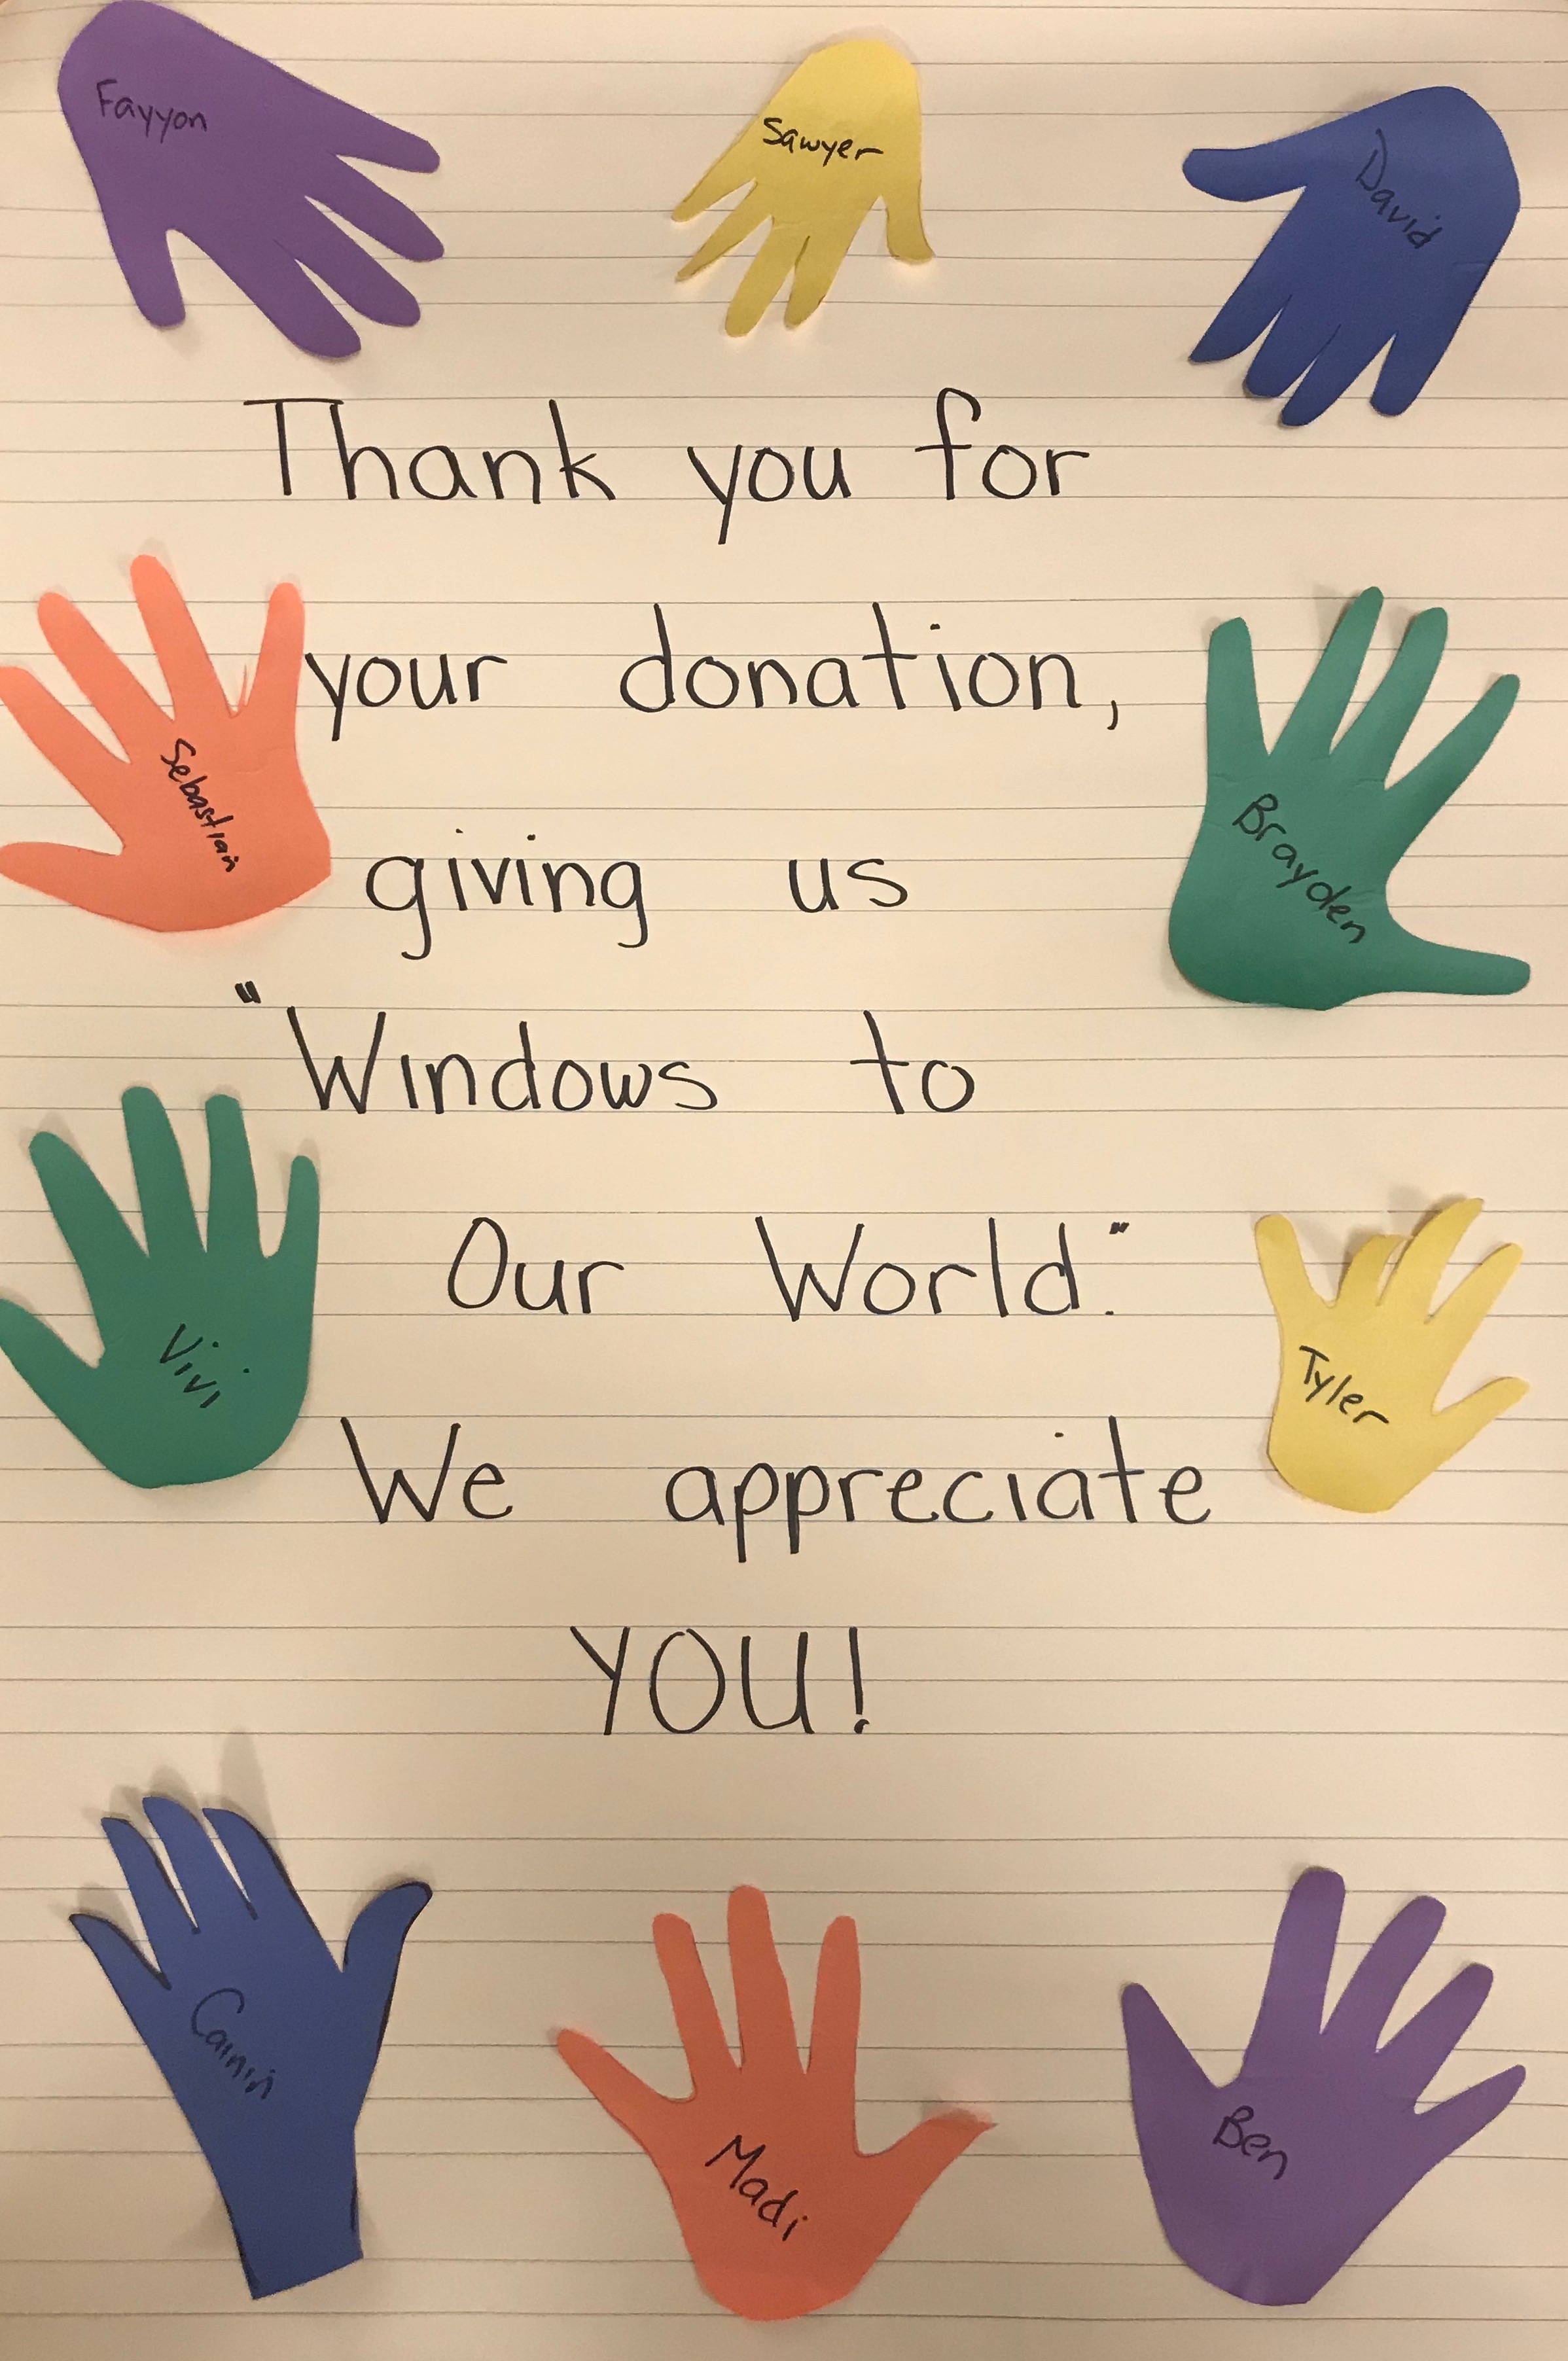
- Decorate cards by outlining students hands or using paint to make handprints.
We also encourage you to include a personal letter briefly explaining how the student thank-yous came to life, in addition to the 5 thank you letters your students will create per donor. In this letter, you can also provide some insight into the learning opportunities made possible by the donor. In general, donors love hearing about how their letters came to life!
To learn more about our general guidelines for student thank-yous, click here!
Check out some great STYs from students with disabilities below for inspiration:

This teacher traced their students' handprints and cut them out with their names on them to make one big Student Thank-you poster.

This teacher made a "Thank You!" template for their students to decorate with markers and stamps.